
It’s strange how a single tap of Delete can make a week’s worth of work feel like it is gone forever. But not everyone knows that, on a MacBook, most “deleted” files aren’t actually gone. macOS gives you multiple built-in ways to get back deleted files for free long before you ever think about paying for anything. And when those options stop short, a free Mac data recovery tool can usually reach deeper and pull files from places you can’t even see.
This guide walks you through everything step-by-step, how deletion works on macOS, where your files actually go, how to recover them for free, and when a Data Recovery tool like Stellar Data Recovery Free for Mac becomes the most practical choice.
Why You Can Recover Deleted Files on a Mac
When you hit delete, the system doesn’t wipe the file off your drive in that moment. It simply moves it out of sight or marks its space as available, which gives you a window to get it back before something else overwrites it.
The first layer is the Trash. Anything you delete normally just sits there until you empty it. As long as it’s still inside, recovery is as simple as restoring it. Even if you’ve emptied the Trash, the story isn’t over. On a Mac’s SSD, deleting a file usually means macOS updates its index and tells the drive that the blocks the file was using are now free to reuse. Until another file actually takes up that space, the original data often still sits there in the background. That’s why dedicated data recovery tools can scan the disk and rebuild those leftovers into usable files.
Time Machine adds another safety net. If you’ve been using it, you can roll back to snapshots from earlier days and pull out just the missing file without touching the rest of your system. You don’t have to restore your whole Mac.
So what this really means is, unless new data has overwritten the old spots, there’s usually a decent chance to recover deleted files on a Mac, either through Trash, Time Machine, or deep-level scanning with recovery software.
In short, depending on how you deleted it, your Mac gives you four major recovery opportunities:
- The Trash folder
- Undo delete
- Time Machine backups
- Deep scan using a free Mac data recovery tool
As long as the original storage blocks haven’t been overwritten, recovery is absolutely possible.
Where Deleted Files Actually Go on macOS
To understand Mac data recovery, it helps to know what happens when you delete something.
1. When You Move Something to the Trash
If you delete a file normally (Command + Delete), macOS sends it to:
/Users/yourusername/.Trash
It just disappears from view, but the data is still sitting on the drive.
2. When You Empty the Trash
This is where people panic. But even after emptying the Trash, macOS still doesn’t instantly overwrite the data. The file’s “pointer” is deleted, but the actual content remains until macOS writes something new onto that space.
This is why free Mac data recovery software can still detect and restore files, even after emptiness or formatting.
Easy Ways to Get Back Deleted Files on Mac for Free
We’ll start with the built-in methods. Use these first because they’re fast, simple, and completely free.
Method 1: Recover Deleted Files from Trash (Fastest)
This works if you didn’t empty it.
- Open Trash from Dock

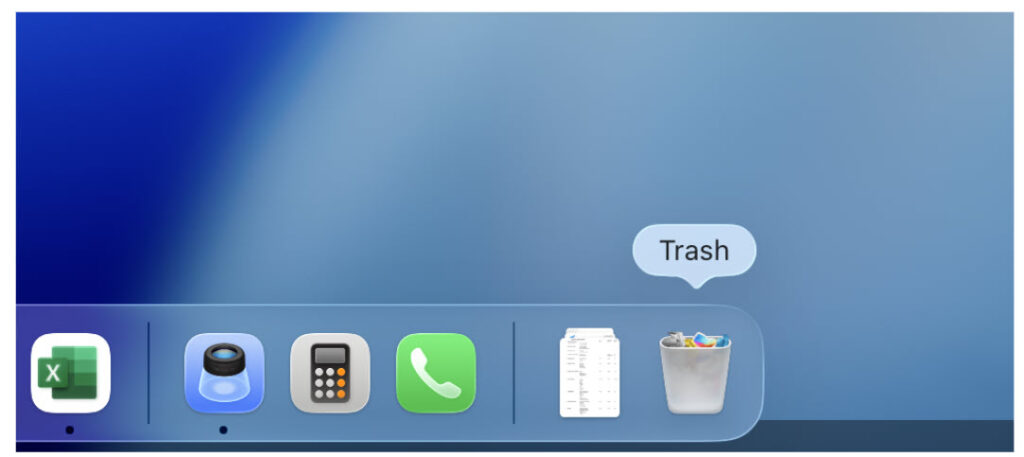
- Locate your file
- Right-click → Put Back

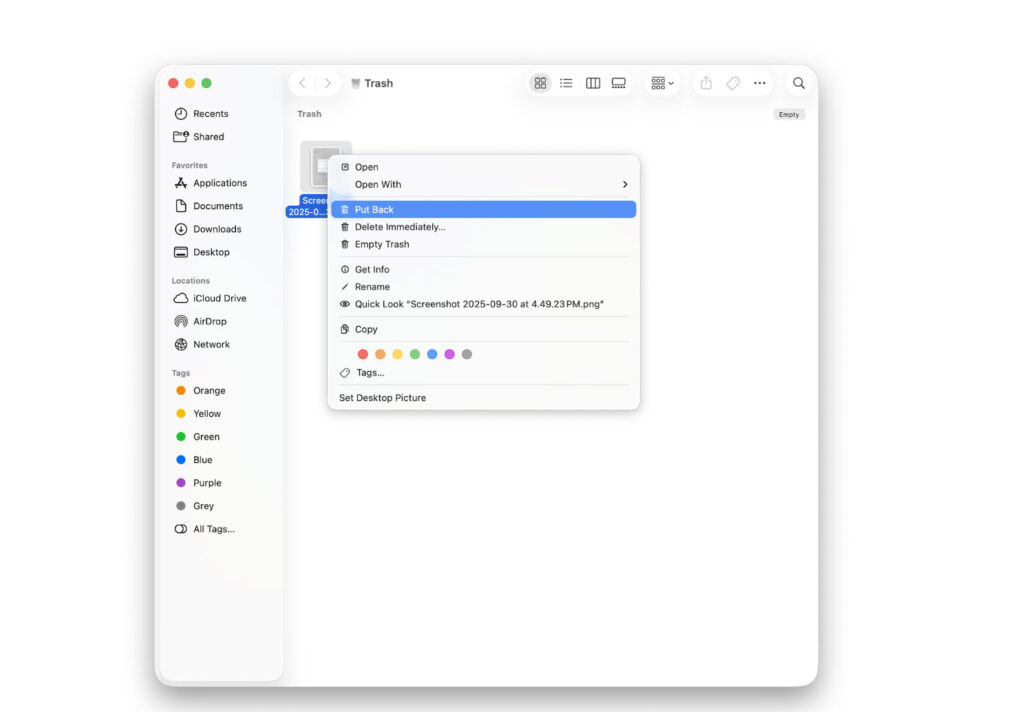
It returns to the exact folder it came from.
If your Trash is always empty
Some users accidentally enable “Delete Immediately.” To check:
Go to Finder → Settings → Advanced
Make sure Remove items from Trash after 30 days is optional, not forced.
Method 2: Undo the Delete (If It Just Happened)
If the deletion was a recent mistake:
- Press Command + Z
- Or go to Edit → Undo Move to Trash
This doesn’t work if the file was permanently deleted or the app has been closed, but when it works, it’s instant.
Method 3: Recover Files Using Time Machine (Free, Built-in)
If you use Time Machine, you already have snapshots of previous versions.
How to restore with Time Machine
- Plug in your Time Machine drive
- Open the folder where the file lived (e.g., Documents)
- Click the Time Machine icon → Browse Time Machine Backups
- Scroll through older snapshots
- Click Restore
Time Machine is one of the safest ways to get back deleted Mac files, but only if you set it up earlier.
Method 4: Recover Files from iCloud Drive
For people who use iCloud Desktop & Documents:
Check recently deleted items
- Visit iCloud.com
- Click Drive → Recently Deleted
- Check if there is any data which you are looking to get back. If yes, then simply select files → Recover

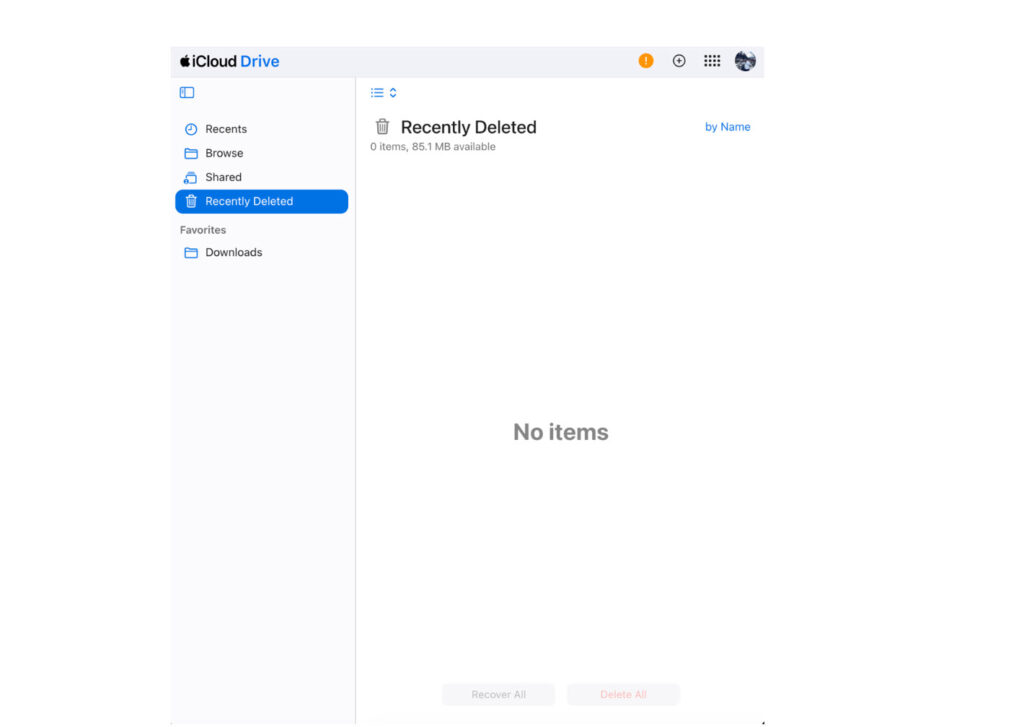
Remember: iCloud stores deleted items for 30 days.
How to Get Back Deleted Files for Free After Emptying the Trash
If the Trash is empty and you don’t have a backup, you’ll need a recovery software.
macOS does not include a built-in Trash recovery tool if the trash is emptied.
This is where free Mac data recovery software comes in.
Why You Need Data Recovery Software
Emptying the Trash doesn’t erase the file, it simply marks the space as “available.” Recovery tools scan the disk for these remaining data fragments and rebuild the files.
But here’s the rule:
Stop using your MacBook immediately
Avoid installing apps, downloading files, or creating new data. The more you use the Mac, the higher the chance the deleted file gets overwritten.
Recover Permanently Deleted Files for Free Using Free Data Recovery for Mac
If you want to get back deleted files for free without Time Machine, Stellar’s Free Mac Data Recovery tool is the most reliable option right now.
Here’s why it works well for beginners and advanced users:
- Recovers lost documents, photos, videos, audio, archives
- Can restore files after emptying Trash
- Works with APFS, HFS+, exFAT, and NTFS drives
- Supports M1, M2, M3, and Sequoia
- The free version restores up to 1 GB without paying
- Simple UI, so no technical knowledge needed
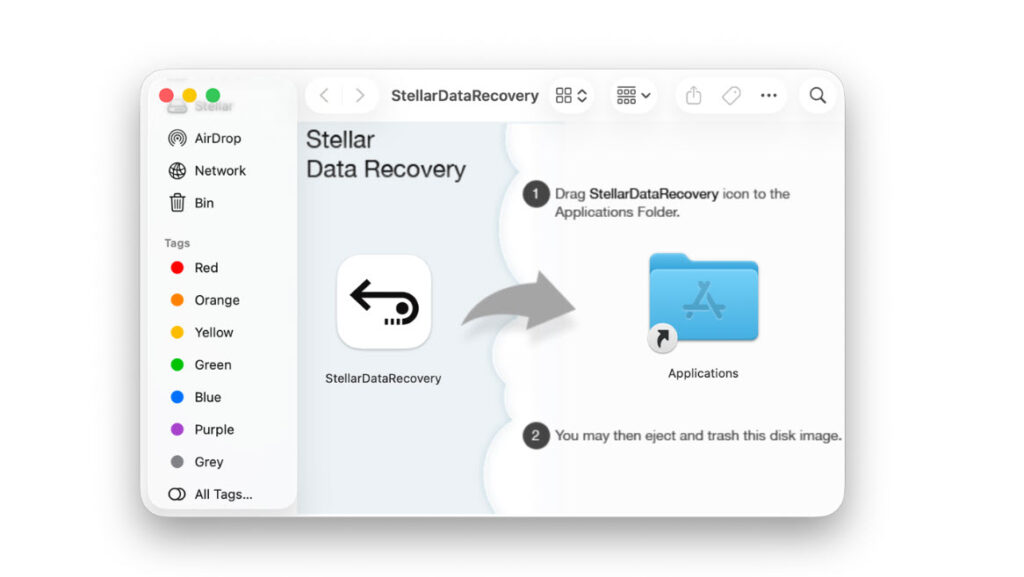
How to Recover Deleted Files for Free Using Stellar (Step-by-Step)
Step 1: Download and Install Stellar Data Recovery Free

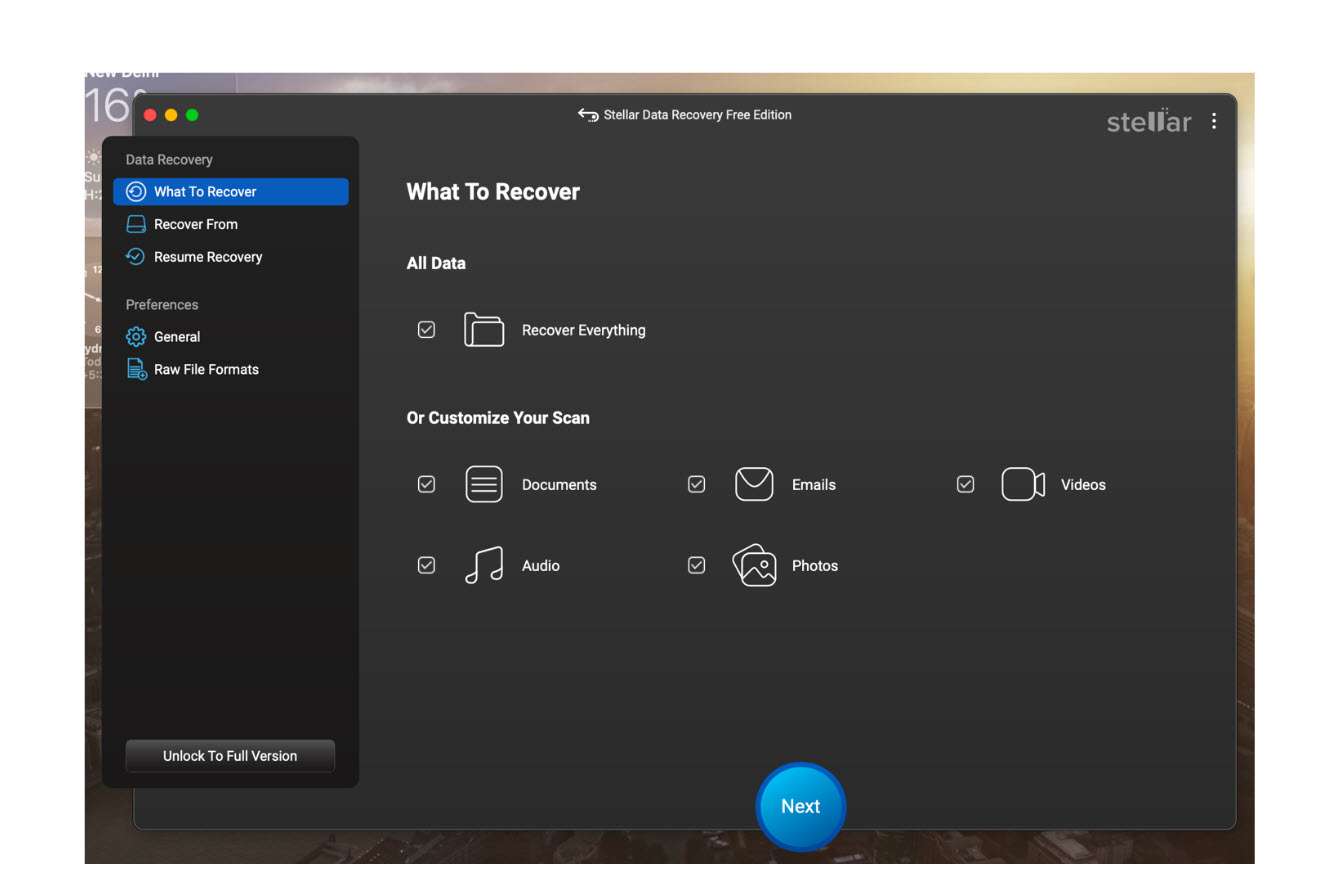
Step 2: Launch the App and Choose What You Want to Recover
You can select:
- Documents
- Photos
- Videos
- Emails
- Audio
- Or choose “Recover Everything”
Step 3: Select Your Drive
Choose the drive where the file originally lived (Macintosh HD or External). Mine was an external drive, so I chose the external drive from the list.
Step 4: Run a Scan
- Start with Quick Scan
- If Quick Scan doesn’t find the file, run Deep Scan (slower but extremely thorough)
Step 5: Preview Your Files
Stellar lets you preview files before recovering, super useful to avoid restoring junk.

Step 6: Recover Up to 1 GB for Free
Choose a location on a separate drive to save the recovered files.
You’re done.
Advanced Free Recovery Methods
If you prefer hands-on recovery and understand risks, here are a few macOS-level techniques.
1. Restore from APFS Snapshots
macOS keeps hidden APFS snapshots even without Time Machine.
How to check:
Open Terminal and run:
tmutil listlocalsnapshots /
If snapshots exist, restore entire filesystem states.
But note:
This restores system state, not individual files.
2. Recover Files Using Terminal (Only Works in Specific Scenarios)
Sometimes files live inside temporary folders.
Try checking:
/private/var/folders
This is hit-or-miss and not beginner-friendly.
3. External Drive Recovery
If you deleted files from an external USB or SSD:
- macOS doesn’t put external deletions in Trash unless configured
- Files are stored on the device’s file system until overwritten
Stellar Data Recovery Free for Mac works well here too because it scans the external drive directly.
Why “Free” Mac Data Recovery Tools Aren’t All Equal
Many so-called “free” tools have hidden limits:
- Some only scan for free but won’t recover
- Others artificially limit recoverable file types
- Many don’t support APFS (which all modern Macs use)
Stellar’s free edition is one of the few that:
- Recovers actual files up to 1gb
- Supports APFS fully
- Works on Apple Silicon
- Provides full preview
This is why it’s a practical choice without buying a license immediately.
Tips to Improve Your Chances of Successful Recovery
If you want the highest success rate:
1. Stop Using the Mac Immediately
Every new write increases risk of overwriting deleted data.
2. Don’t Install Recovery Software on the Same Drive
Install it on:
- A USB drive
- External SSD
- Secondary internal partition
3. Save to a Different Drive
Never recover files to the same disk you’re scanning.
4. If the drive is failing, don’t force
Clicking noises or slow reads indicate hardware failure.
In that case, stop immediately and consider a professional recovery lab.
When Your Deleted Files Are NOT Recoverable
No tool, paid or free, can recover files in these situations:
- The drive is overwritten
- Secure erase was used
- TRIM erased blocks on an SSD (varies case by case)
- File existed only in RAM
- The drive has severe physical damage
For everything else, recovery is usually possible to some extent.
Conclusion
Here’s the straight answer: yes, you can get back deleted files for free on a MacBook, and macOS gives you several built-in recovery options. When the Trash is emptied and backups fail, a free Mac data recovery tool like Stellar Data Recovery Free for Mac is the most effective way to restore permanently deleted files.
It lets you recover up to 1 GB of data for free, supports all modern macOS versions including Sequoia, works on Apple Silicon, and handles everything from quick accidental deletes to full deep scans.
If you’re dealing with an unexpected data loss moment, start with the simple methods, and when those aren’t enough, Stellar gives you a safe, proven path to getting your files back.