As an iPhone user, you can run into several problems. However, one of the most annoying Errors in iPhone is Error 4013. If you have run into this problem, it must be annoying for you as you cannot use your iPhone normally. But there’s no need to worry, as in this article; you will learn 8 ways to fix iPhone Error 4013. Try to apply all methods to see which works best for you. Read on to explore more about iPhone Error 4013.
What causes “iPhone Error 4013” or “iTunes Error 4013”?
Some reasons cause iPhone Error 4013. For example, if you do not have the latest version of iTunes installed on your iPhone, you will run into Error 4013. Other than that, space-related issues or a broken USB cable can also cause this Error. You can also see Error 4013 on your iPhone when you cannot update your iTunes successfully.
How to fix iPhone/iTunes Error 4013 without Data Loss?
If you want to fix your iPhone without data loss – Tenorshare ReiBoot is a confounding way of doing so. It is an amazing tool that can be used to recover your iPhone manually in case you run into Error 4013. The tool will ensure you do not lose any data or compromise security. The best thing about this tool is that you will be able to fix Error 4013 within a few clicks. You do not need to get into any complexities. The tool makes everything simple for you.
Here is how you can use Tenorshare ReiBoot to fix Error 4013.
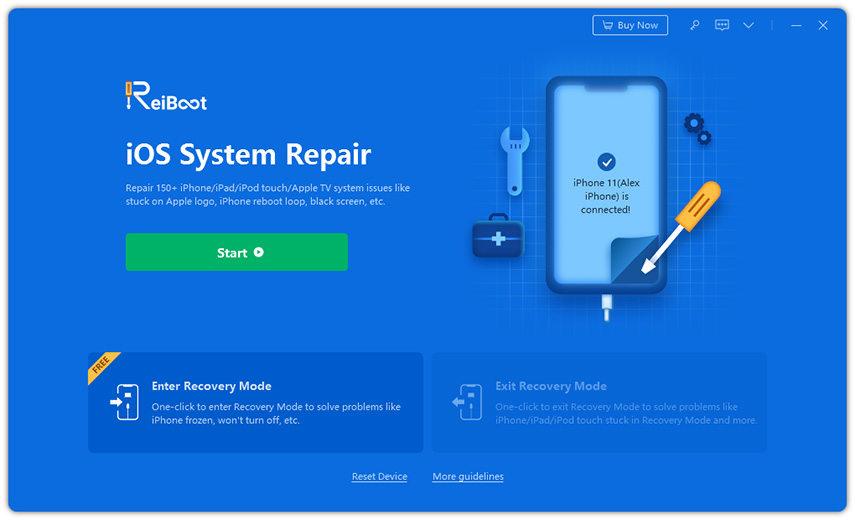
Step 1: Download the Tenorshare ReiBoot on your computer. Once it is downloaded, launch the tool on your computer. Next, you’ll have to connect your iPhone to the computer using a USB cable. Once that is done, click on “start” on the main interface.
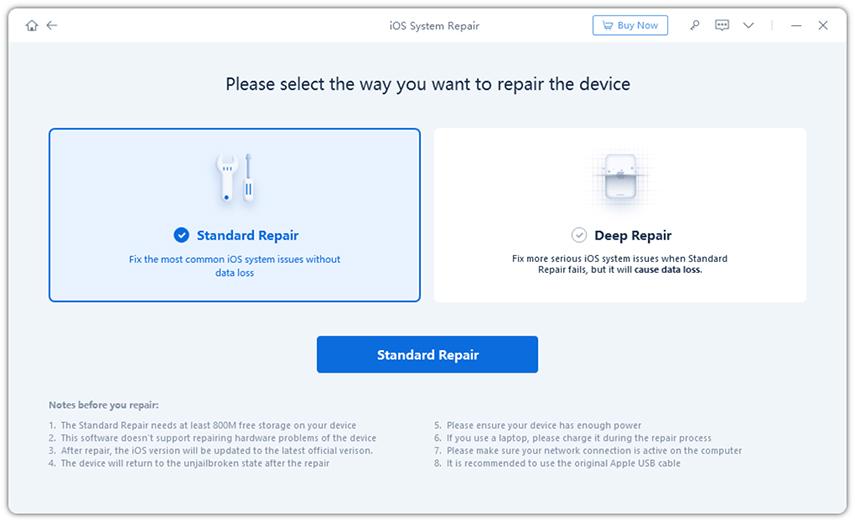
Step 2: Now, click on “standard repair” from the next window on your computer.
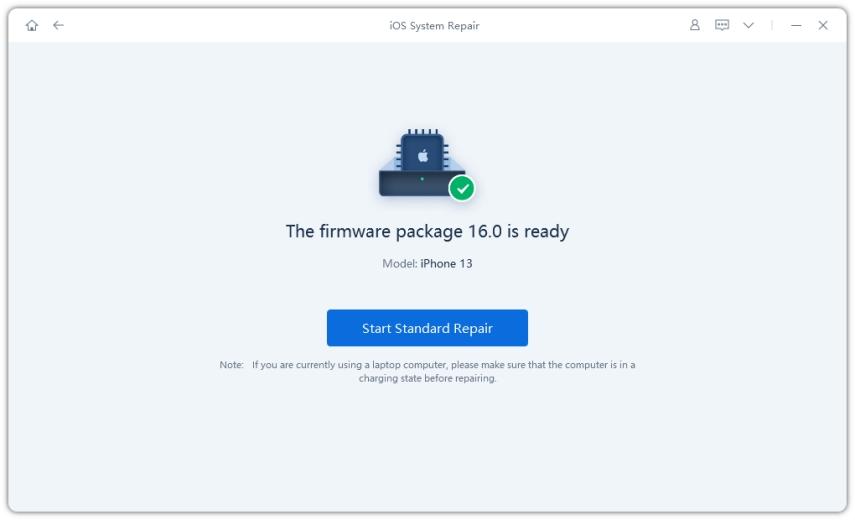
Step 3: The tool will lead you to a window to download firmware for your iPhone. All you have to do is click on the download button to get started.

Step 4: Once you complete the download, click on “start Standard Repair” to initiate the restoring process.
Note: Once your iPhone is fixed, you can access all your files, as the Tenorshare ReiBoot does not lead to any data loss when fixing iPhone update Error 4013.
2. Force restart the iPhone to fix iPhone/iTunes Error 4013
Another easy way to fix problem code 4013 restoring iPhone is to force restart your iPhone. When you run into the Error, you must follow two simple steps.
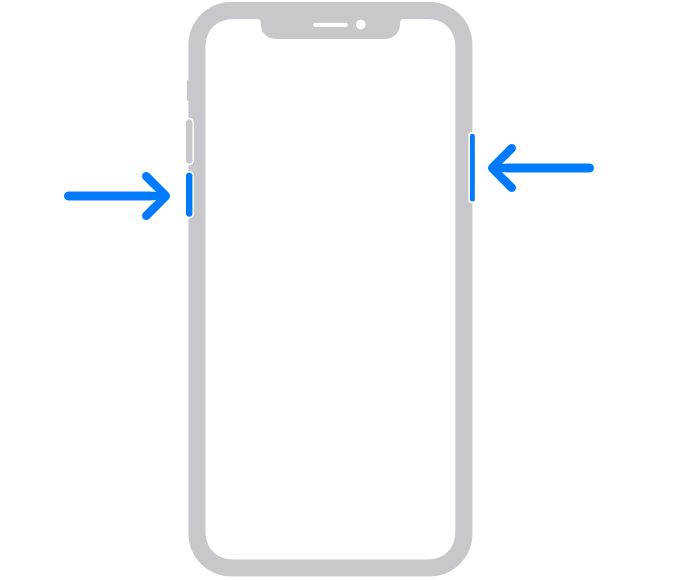
Step 1: Click the volume up button and release it. Now, do the same with your volume down button.
Step 2: Now, click the side button until the Apple logo appears on your phone.
3. Fix iPhone Error 4013 by Updating iTunes
The main reason why you encounter Error 4013 is that you do not have an updated version of iTunes. However, you can update your iTunes application to avoid this trouble. Here is how you can do it.
For PC users:
If you have a Windows PC, follow the steps below to update your iTunes.
Step 1: Open up your iTunes application. Now, from the menu bar, click on help. And then click on check for updates.
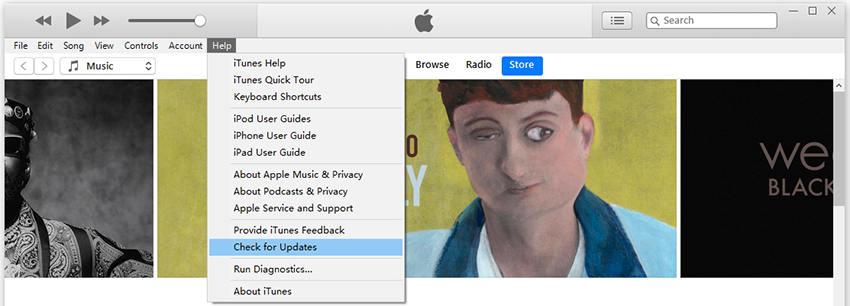
Step 2: Now, follow the prompts on your screen to install the latest version of iTunes.
For Mac users:
Here are the steps to update your iTunes software if you have a Mac.
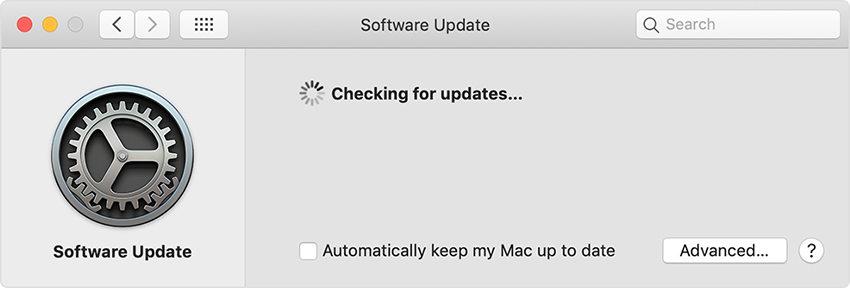
Step 1: Click on system preferences from your Apple menu and press software update.
Step 2: However, if your iPhone does not update to the latest macOS. All you need to do is open up the App Store on your Mac and then press updates from the top of the Apple store window. If you notice any pending updates, press install.
4. Using Factory Reset iPhone to Fix iPhone Error 4013
You can also factory reset your iPhone to fix Error 4013. here is how you can do it.
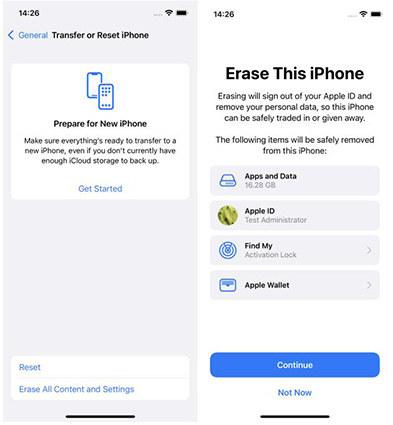
Step 1: Open settings on your iPhone.
Step 2: Hop onto general and then click on transfer or Restore iPhone.

Step 3: Enter your password.
Step 4: Wait patiently for your iPhone to complete the reset
5. Resetting all settings on iPhone
Sometimes you mess up some settings on your iPhone that can lead to Error 4013. To fix it, you can try resetting all settings on your iPhone. Here are the steps that you need to follow to fix the problem on your iPhone.
Step 1: Open the settings of your iPhone.
Step 2: Go to General and then transfer or reset your iPhone.
Step 3: Click on reset all settings and enter your password to continue. Once it is done, apple Error 4013 will be fixed.
6. Fix iPhone Error 4013 by entering DFU mode on iPhone
DFU mode can also be used if your iPhone could not be restored Error 4013. When you enter DFU mode, your iPhone is restored from any state. Therefore, you can use it to fix added 4013 in your iPhone. Here is how you can do it.
Step 1: Use a USB cable to connect your iPhone to a computer.
Step 2: Now, press the volume button and release it. Then press the volume down button and release it.

Step 3: After that, keep holding onto the side button of your iPhone until the screen goes black. After that, hold your side button and volume down button simultaneously.
Step 4: Release all buttons except the volume down button after five seconds.
Step 5: Now, your iPhone will enter DFU mode. Follow the instructions on the screen to continue!
7. Use another USB port or cable
Error 4013 can occur due to a hardware problem too. Therefore, you should try swapping out the USB cable you use with your computer to see if the problem is solved.
8.Fix iPhone Error 4013 by Clearing up space on iPhone
When your iPhone storage is full, some functionalities can get disturbed. Therefore, you can try to clear up some space on your iPhone to try and fix Error 4013.
Start with your pictures and see if you have any unrelated items on your iPhone. Then, you can try to uninstall some applications that you do not use. Next, free up space from apps like WhatsApp by clearing your chats.
Why we choose Tenorshare ReiBoot to Fix iPhone/iTunes Error 4013
iPhone Error 4013 can lead to many problems. But there are many ways to fix this issue. However, the best way to do it is to use Tenorshare ReiBoot. It is a handy tool that is designed for iPhone users to solve a lot of problems. If you have encountered Error 4013, use Tenorshare ReiBoot to fix it mainly because the method is extremely easy and hassle-free. The process will be completed within a few seconds.
Recent comments